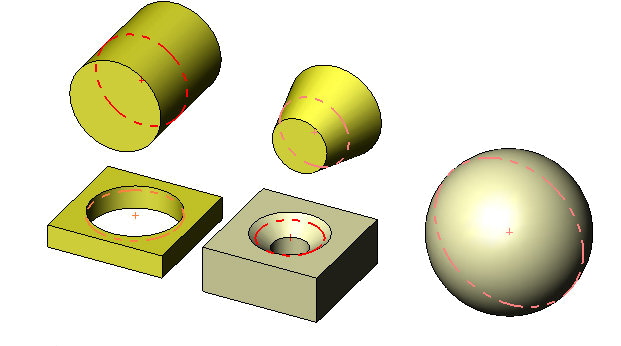
The circularity tolerance can be used whenever a circular element can be identified on a part. Below are some examples of features containing circular elements.

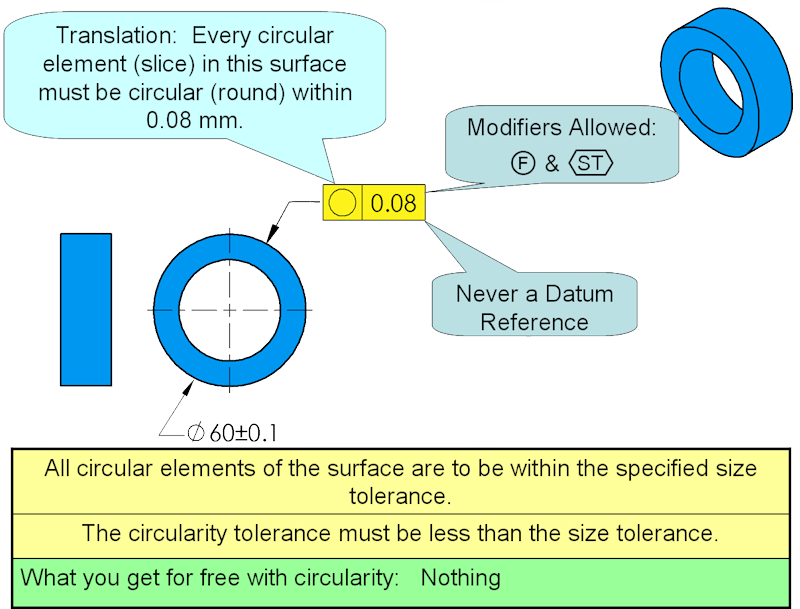
Circularity or roundness is a form control that may be applied to any feature containing circular slices. The tolerance zone for circularity is the annulus area between two circles with the same center. The width of the zone is the difference between the radii of the two concentric circles.

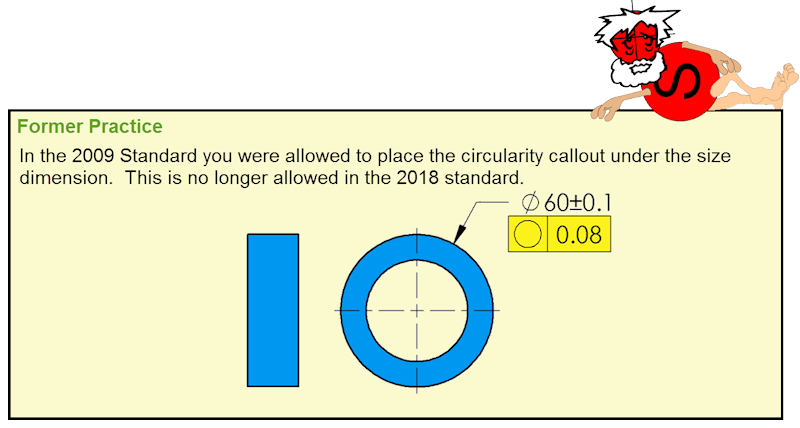
Prior to 2018, a circularity feature control frame could be associated with a size tolerance. This is not allowed in the 2018 Standard. The circularity callout must be separate from the size dimension.

Circularity seems to be a simple tolerance but is a very difficult one to inspect unless the inspection area has computerized equipment designed for that purpose. The true profile at any cross section must be compared to two perfect circles whose sizes can float between the size limits. This means that the actual diameters of the tolerance zone may be different for every element checked. Measuring circularity with conventional mechanical measuring equipment such as V-blocks and dial indicators at best is very time consuming and at worst will not do an accurate job.

Circularity is used to control circular elements on a surface better than the control provided by:
- a size tolerance
- cylindricity
- circular runout
- total runout
- profile of a surface
